If you’ve ever tried snapping portraits indoors, you probably know it’s not quite as simple as pointing your camera and pressing the shutter button. Indoor portrait photography comes with its own set of challenges, mostly because you don’t always have control over the lighting and space. Finding the right camera settings can help you turn those tricky conditions into consistently great results. I’ve put together a hands-on guide covering everything you need to know about dialing in the best settings for indoor portraits, plus a few extra tips from my own shoots.
Core Camera Settings for Indoor Portraits
Getting sharp, well-lit, and flattering indoor portraits starts with understanding a few key camera settings. No matter which camera you’re using, these settings will come up every time you shoot indoors:
- Aperture (f-stop): This controls how much light enters the lens and how much of your image is in focus. For indoor portraits, shooting with a wide aperture (think f/1.8 to f/2.8) is super handy for letting in more light and giving you that nice blurry background. Portraits taken at these settings tend to look more eye-catching as well.
- Shutter Speed: Lower indoor light means you have to pay attention to your shutter speed. Too slow, and you risk motion blur. To keep portraits sharp, I usually stick to 1/125s or faster if my subject is moving, or even faster with playful kids or pets.
- ISO: ISO boosts your camera sensor’s sensitivity to light. Indoors, you’ll probably need to bump it up (ISO 400–1600 is common), but keep an eye out for too much grain. Most modern cameras handle noise better at higher ISO, so don’t stress if you need to go higher.
- White Balance: Indoor lighting can be all over the place with warm bulbs or cool LEDs, so setting your white balance for the room is a game-changer. Try presets like “Tungsten” or “Fluorescent,” or use a custom white balance for more control.
Experimenting with these basics helps you lock in a process that works every time you shoot inside. Try adjusting one setting at a time and see the difference in your results.
Step-by-Step: Setting Up Your Camera Indoors
Getting ready for an indoor portrait session is about adapting your settings to the vibe and lighting in front of you. Here’s a solid process that’s proven useful from my own adventure behind the lens:
- Pick your lens: Go for a prime lens like a 50mm or 85mm with a wide maximum aperture. These are super useful for portraits and grabbing enough light indoors. They also help with that eye-catching background blur everyone loves.
- Open up your aperture (low f-number): I dial my lens down as wide as it goes (like f/1.8 or f/2.0). It’s perfect for letting in more light and making the background melt away softly.
- Set your shutter speed: 1/125s is my go-to, but if your subject is moving I sometimes nudge it higher. With image stabilization, you may go a pinch slower, but don’t chance it too much or you’ll end up with blur.
- Raise ISO if needed: I begin at ISO 400 and crank it up until my exposure looks right. If I reach ISO 1600 or even 3200, I give the image a once-over for grain—sometimes a bit of grain can even add a cool, film-like vibe to the image.
- Custom white balance: I use a gray card to set my white balance. If I forget it at home, I experiment with camera presets until the color feels natural. Sometimes, just taking a quick shot and checking it on the screen helps spot any off-colors right away.
Common Problems and Practical Fixes
- Low Light: If it’s feeling dim, open your aperture all the way and boost your ISO. If noise starts to show up, think about adding a small light or using your camera flash with a sock or tissue as a diffuser to tone down harshness.
- Motion Blur: Turn up your shutter speed, and bump up your ISO to achieve the right exposure. Ask your subject to pause for a second if you’re aiming for a super crisp portrait.
- Unflattering Shadows: Use a bounce card or reflector to fill in dark areas. Moving your subject closer to a large light source, like a window, also helps make shadows less noticeable. Check the angle of your main light so you get even, natural skin tones.
- Weird Skin Tones: Fix this by adjusting the white balance until the skin looks lifelike. If you shoot in RAW, tweak it later in photo editing software such as Lightroom for fast results.
Advanced Tips to Take Your Indoor Portraits Up a Notch
Once you’ve locked in the basics, it’s time to give your images a boost with some creative touches. I frequently play with manual mode for ultimate control over exposure, or try exposure bracketing to blend the best parts from a series of images in tough lighting conditions.
Creative lighting setups, such as placing a light behind your subject for a rim light effect or popping a colored gel on your flash or LED, can give portraits a next-level cool look. Try shooting at a slightly higher aperture (around f/4) for more depth of field, or adjust the angle of light to make shadows more dramatic. Don’t be afraid to change the light’s position and try new things if your shots start to feel stale.
When it comes to editing, RAW files let you pull more out of each shot. I always shoot RAW to fine-tune color, exposure, contrast, and sharpness later. Tweaks made in post-processing can turn a good photo into a great one, as long as you don’t overdo it.
Indoor Portrait Equipment Overview
It helps to know what gear works well for portrait sessions inside. Here’s what I find handy to keep nearby:
- Prime Lenses: A fast 50mm or 85mm lens makes a huge impact by letting more light in and giving you that dreamy, soft background.
- Reflector or Bounce Board: An affordable, compact fix for shadowy faces or harsh light. Even a white poster board from the craft store works in a pinch.
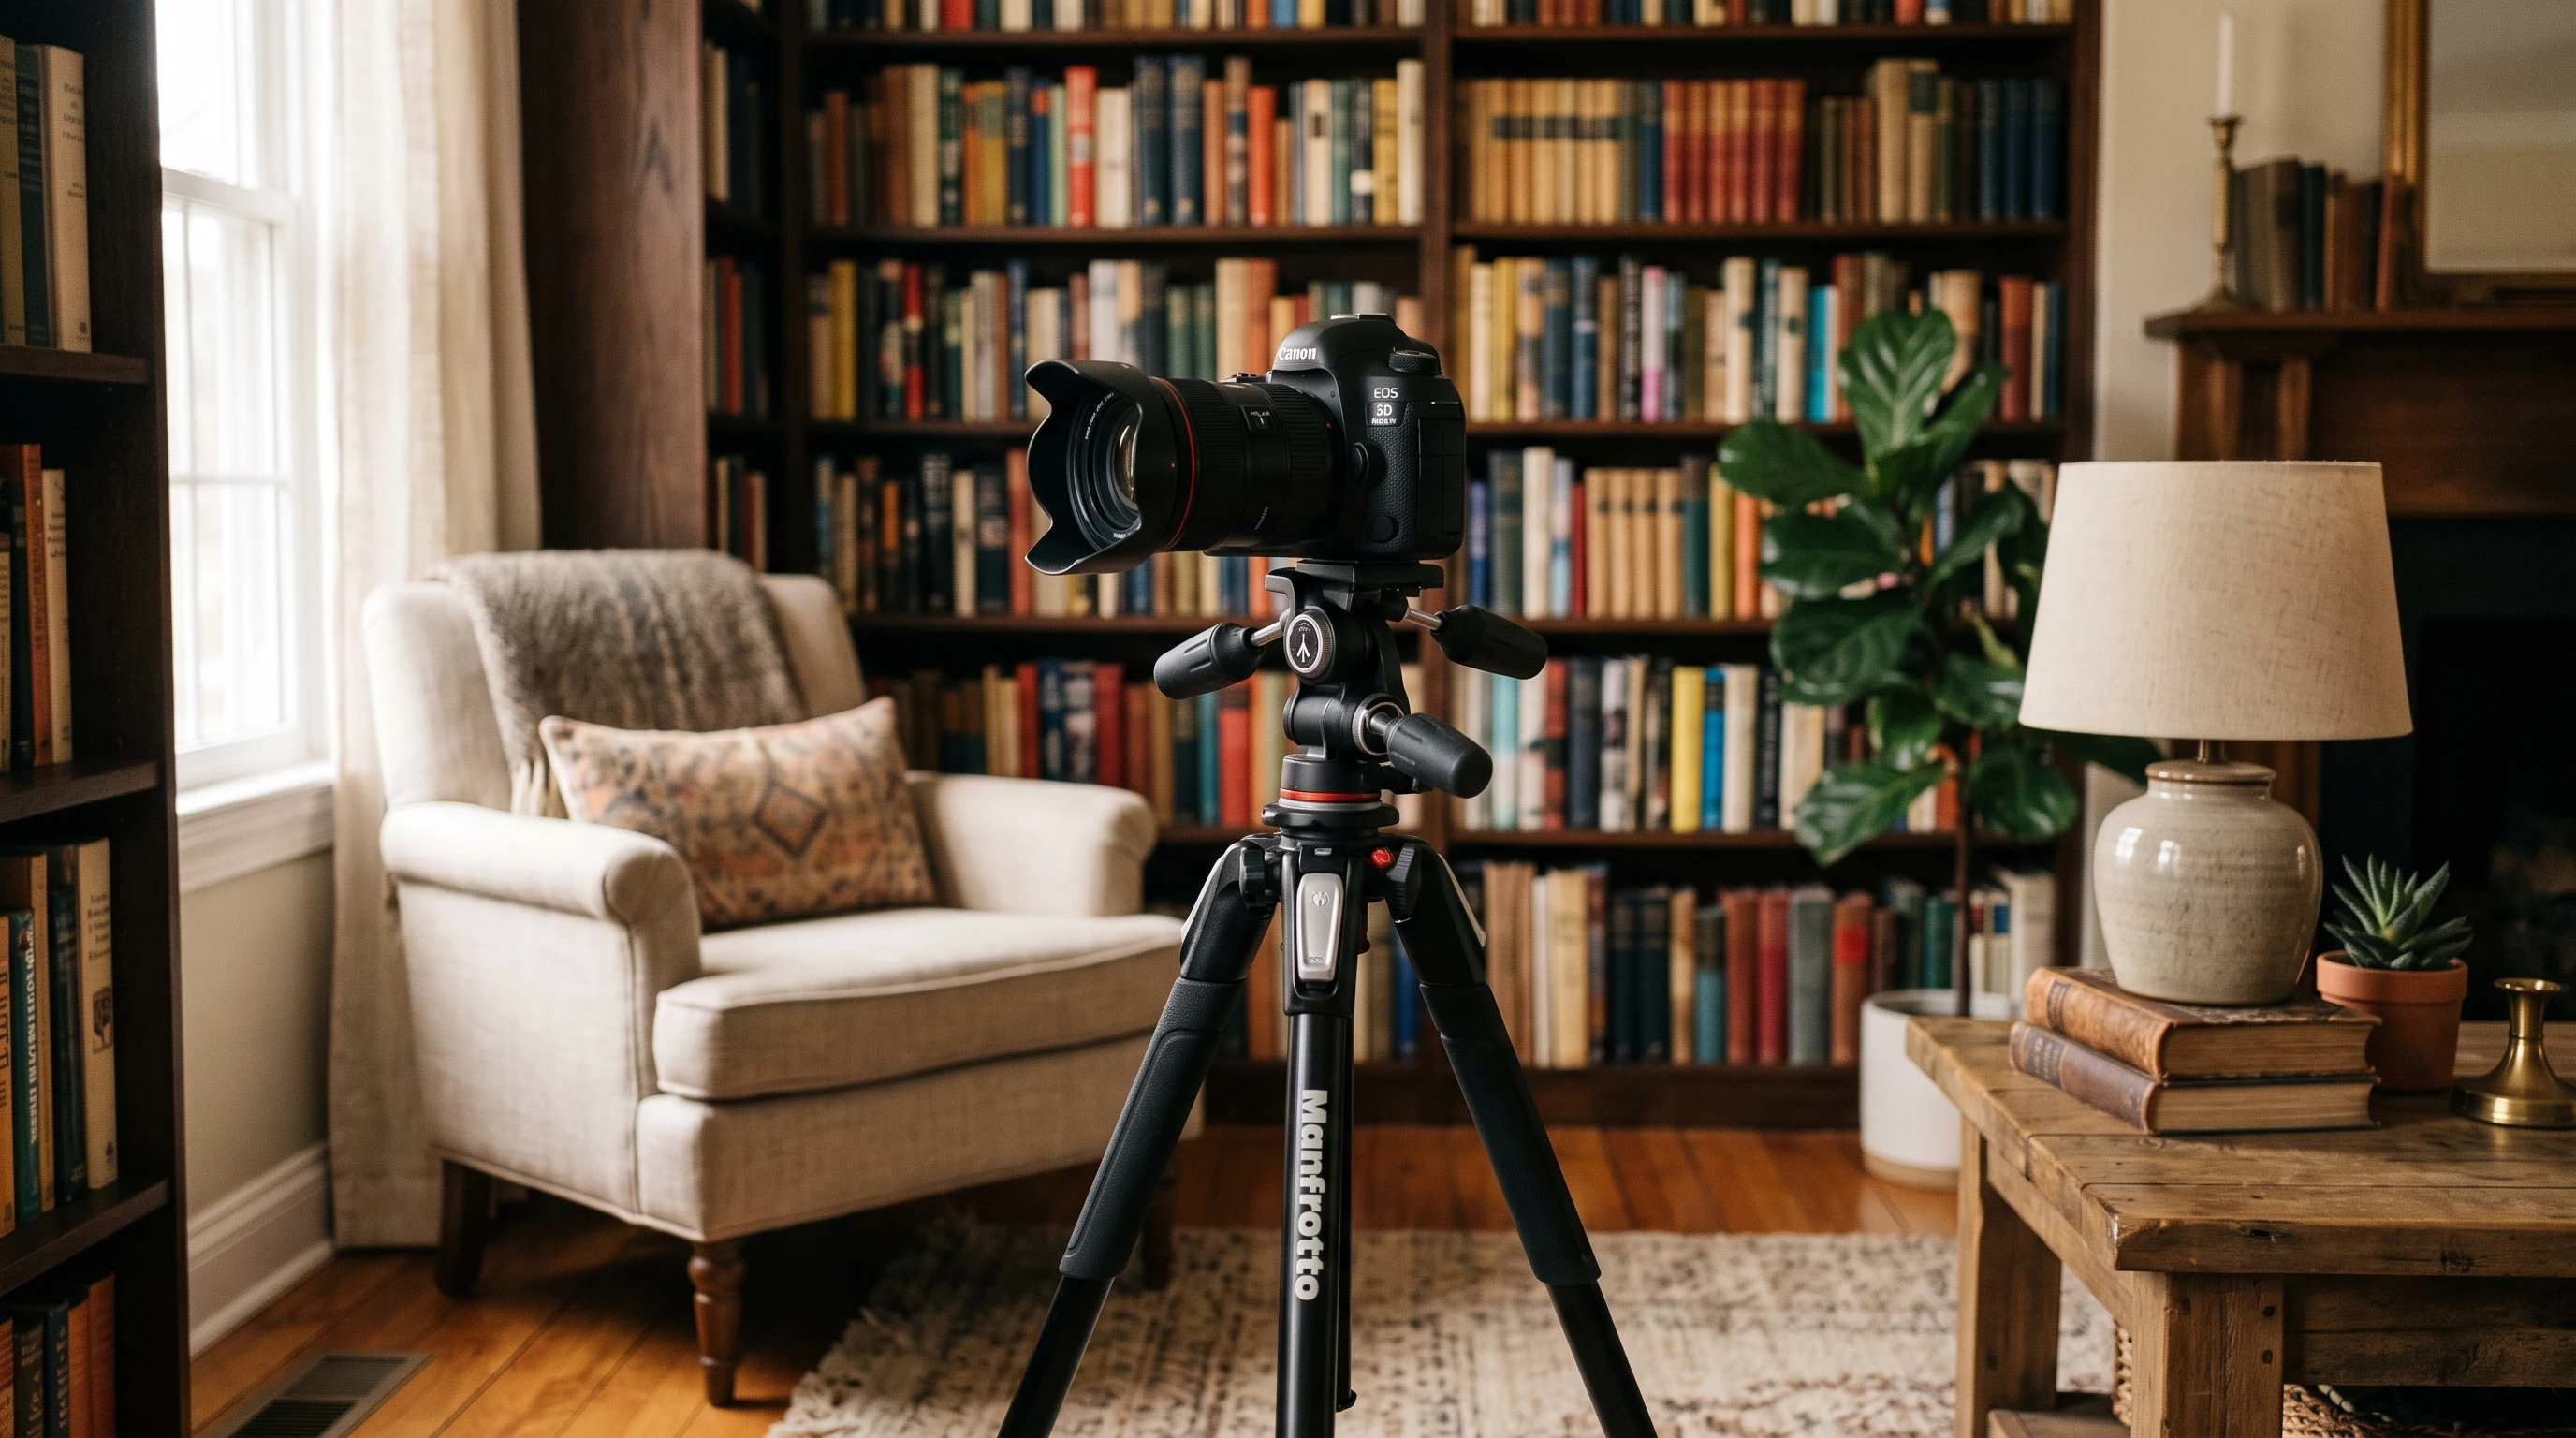
- Tripod: Useful for group portraits or for when you want to slow your shutter for moody shots in low light.
- External Flash or LED panels: Portable lighting gadgets like Godox flashes and lightweight LEDs provide flexible options when you want to add your own light setup indoors.
Mixing these basics into your kit gives you plenty of options and makes shooting in any room way easier and more fun.
Frequently Asked Questions
Question: What’s the best camera mode for indoor portraits?
Answer: I usually recommend Aperture Priority mode if you’re just starting out. This lets you choose the aperture and ISO, while your camera takes care of shutter speed. Later, give Manual mode a try for full creative control as you get more confident.
Question: How do you avoid blurry photos in low light?
Answer: Raise your ISO, open your aperture, and use a faster shutter speed. If you can, support your camera with a tripod and ask your subject to hold still for a couple of seconds to get sharper shots.
Question: Is it better to use natural light or artificial light indoors?
Answer: Natural light from windows is always my first choice. But I use artificial lights or flashes when I need more control, want a different look, or can’t get enough ambient light in the room.
Final Thoughts
Indoor portrait photography is all about balancing your camera settings with whatever lighting you’ve got to work with. The more you play with aperture, shutter speed, ISO, and white balance, the better you’ll get at adapting quickly to new spaces. Extra gear is always helpful, but your sense of light, space, and how to position your subject matters even more for making memorable images. Every time you practice, you’ll pick up a new skill, so grab your camera and try out these ideas at home or wherever you find yourself indoors. With a little patience and creativity, your indoor portraits will be looking sharp, expressive, and next-level cool in no time.
If you have any questions feel free to send a commen or two.